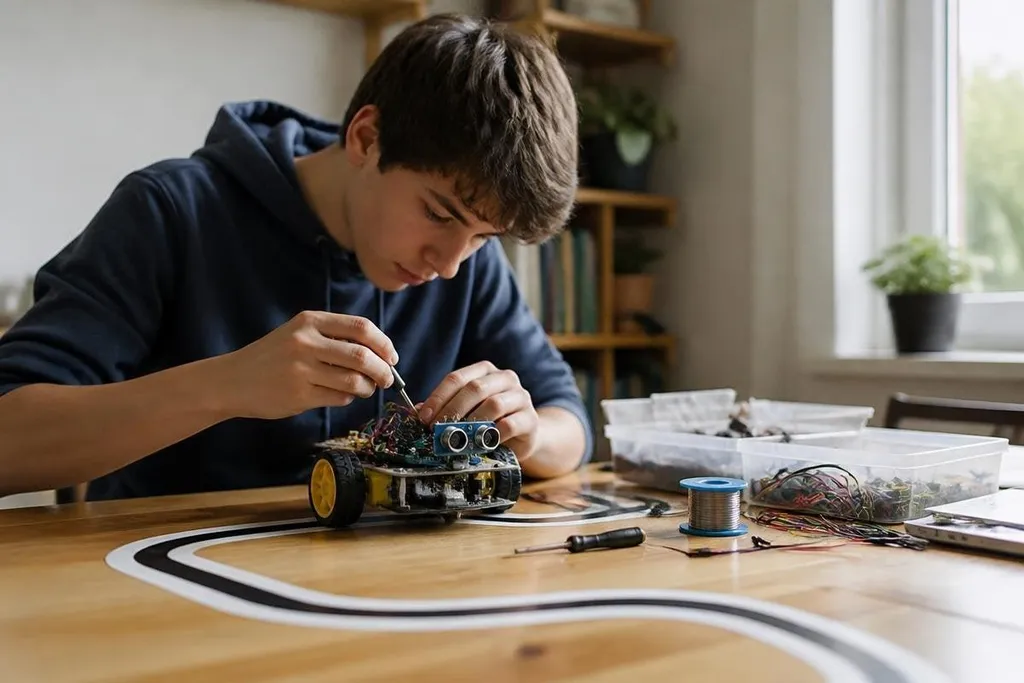
A home robot can start with one motor, one sensor, and a small controller. The hard part comes after the first movement: making the machine repeat a useful task without constant help. For a beginner, the best path is a small robot with a clear job.
Quick read
- Pick one task, such as moving, sensing, or sorting.
- A working robot needs hardware, code, power, and a safe test area.
- A wheeled base is usually easier to build than a walking robot.
Start with the job
The task sets the design. A robot that follows a line needs sensors pointed at the floor, motors that turn the wheels, and code that changes motor speed when the line moves left or right. A robot that avoids objects needs a distance sensor and a way to stop or turn.
That choice also sets the cost and the amount of code. A small wheeled robot can work with two drive motors and a basic controller. A walking robot needs more motors, better balance, and software that handles changes in weight and floor grip.
I'd start with a robot that moves on wheels and reacts to one sensor. You can see each part working, and a fault is easier to trace than a balance problem in a robot with legs.
The parts that make it work
Four working areas make the project work. The frame holds the parts, the power system feeds them, the controller runs the code, and the sensors tell the controller what the robot sees.
The motor driver sits between the controller and the motors. It takes the small control signal from the board and switches the higher current needed by the motors. Without that middle stage, a motor can draw more current than the controller can safely handle.
Power needs the same care. Motors can create electrical noise when they start, stop, or change speed, so the battery, wiring, switch, and voltage regulators need a plan before you write code. A loose ground connection can look like a software fault because the controller may reset when a motor starts.
The code can begin with a short loop: read the sensor, choose an action, run the motor for a brief period, and read the sensor again. That loop is enough to teach the basic link between input and movement.
Build in small steps
Test each part before joining it to the next one. First check that the controller runs the program. Then check one motor at a time, followed by the sensor. Keep the robot lifted off the floor during the first motor test so a wiring error can't send it across the room.
Once the parts work alone, connect them in pairs. Read the sensor and print its value. Run one motor from a fixed command. Then let the sensor change that command. This order leaves fewer places for a fault to hide.
A home project gets easier to judge when you compare one design choice with a robot that already uses it. Robot24.com reports on the machines and research behind those choices, giving you a reference before you buy another part.
A useful first project should also leave room for changes. Use connectors you can remove, keep wires away from wheels, and label the battery leads. You’ll spend less time rebuilding the frame when the first idea needs a different sensor position.
Where home projects tend to fail
The first limit is power. A battery may run the controller for hours but last much less time once motors and sensors draw current. The exact runtime depends on the battery, motor load, surface, and driving pattern, so a time estimate from a parts list isn't a test result.
The second limit is sensing. A distance sensor can detect an object without knowing whether that object is safe to push, soft enough to damage, or part of the route. The robot follows the rule in its code, even when the room changes.
The third limit is the frame. A loose wheel, bent axle, or slipping belt changes motion before the software sees a problem. Check the physical parts before changing the code.
Walking robots add another layer of trouble. Each foot changes the forces on the frame, and the control loop must keep the body from tipping as the robot moves. That makes a legged project a poor first build unless the goal is learning balance control.
A practical build check
Before ordering parts, check these points:
- Name the task: Write one sentence describing what the robot must do.
- Choose the floor: Decide whether it will run on a desk, carpet, or hard floor.
- Count the motors: Include the drive motors, steering motors, and any arm or gripper motor.
- Plan the stop: Add a physical switch or a clear software stop before testing.
- Leave access: Make the battery and controller removable without taking apart the frame.
If the task still fits after those checks, build the smallest version that can show the result. The project does not need a human shape to teach useful robotics; it needs a repeatable action, a clear sensor reading, and a safe way to stop.